How it Works

Solutions
Get content on your screens, in 3 simple steps.


STEP 1:
Create your Account
Sign up for free with just your name and email. No credit card, billing or mailing address required. Go ahead, take a look around. You can now access all our features, and even follow our quick, helpful tours that show you how easy it is to get media, playlists and layouts on screens, in seconds.
STEP 2:
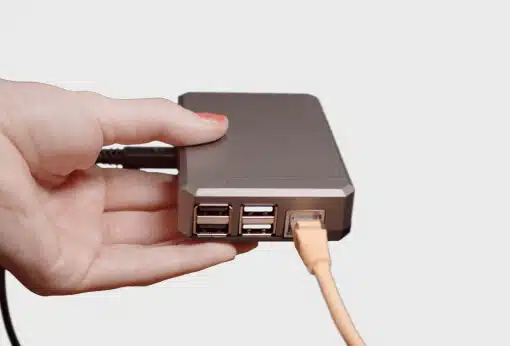
Get your myGVM Media Player
The myGVM media player makes setup a breeze. Get it from us, and we’ll pre-configure your WiFi credentials for you, so it’s ready to use, right out of the box. Also, we’ll do all the work to make it automatically connect to your account when you plug it in. So you can put your screens to work right away.

STEP 3:
Connect it to your screen
Plug the HDMI to micro HDMI cable (it’s included when you order from us) into the left port of the player and connect the other end to your TV. Then, plug in the player’s power supply, and it will automatically turn on. That’s it. Now, all you need is some great content to wow your viewers. And that’s easy to do, too.
Contact Us
(800) 270-1237
Let’s talk!
Need some more information on a product or want to learn more about our services? Looking for a quote on a new kiosk, video wall or wayfinder? We would love to talk with you.